Monday, April 7, 2014

My first foil mani


Hey Everyone!!! That was a long break. Sorry about that. I am back! I might not be back with daily posts yet but I will definitely be posting more than the past few weeks. The house is still crazy with redoing the floors and moving everything around but life in general is not as stressful. 

This mani is from before the break both from blogging and of all my nails. Right now I am sporting major nubbins. In these pictures my pinky and ring nails were literally holding on by silk wraps and glue and finally gave out. I had cut them all down and all was well until they decided to break even shorter. It has been a long battle keeping my nails long especially with all of the time I spend at the kennel. Dog crates and muzzles do not treat nails well. Even with the gel manis I try to keep on there to protect them a bit. 

I had looked at nail foils for a very long time and loved the manis I saw people do using this medium but for some reason it took me way too long to try it out. I ordered two different foils from BornPrettyStore not long ago to give it a try. 

**Image used from BornPrettyStore.com**
They are .99 cents for a sheet and I decided I had to give it a try. I absolutely loved this mani. I took a ton of pictures of it because it was so very cool looking. I can't even remember how long I wore it before reluctantly removing it.


I started with a dark base that was an almost black teal. I was lazy and painted it over the red I already had on which is why you see red around the cuticles. Now I didn't order the foil adhesive because I just didn't think about it at the time. I didn't really need it but I did have to look up several places to find out how to apply the foils without adhesive.


Basically I cut small rectangles out of the sheet of foil. They were big enough to cover my entire nails but not much bigger so I didn't waste any. I ordered #18 which is a rainbow sheet. 


Honestly I wanted to do the entire nail in foil so it was a solid look instead of what it turned out as. Something Minx looking. Obviously that didn't work out but it was my first attempt. I tried using a top coat then waiting till it was almost dry to apply the foils. What I realized after trial and error is that I could apply the foil to the base color just as easily. I painted my nail with the base color then waited until it was almost dry. When it was almost dry I lightly pressed the foil to the nail and removed the clear backing. If I let the polish dry a little too much foil didn't transfer as well in those areas. It was a trial and error event but by the end it was pretty easy to manage.


If spots were missing some foil I went back over them and rubbed some more foil on. The sheet is roughly 12 inches long by 4 inches wide. I had plenty of this sheet left over for many more uses. The sheet comes folded into a square and packaged in a plastic sleeve like the picture above shows. They are really the perfect size for someone, like me, who wants to try foils out without committing to a whole roll. 


I am going over my next foil mani in my head right now. I think I might be trying the other pattern I bought, #76, tonight with a gel mani. I will see if I can get that to work together.


I thought my thumbs came out really cool so I figured I would show them this time.


The foils were really pretty and glowy.


That's all for now :)

Thursday, March 20, 2014

St Patrick's Day and Nail Art


Hey Everyone!!! I was supposed to have a great blog post ready for you Monday for St. Patrick's Day but things have been so hectic and then I was feeling so ill that it didn't get done. I love St. Patrick's Day too. So lame. I figure better late then never so today I have what I was supposed to post Monday for you all. 

Recently I was contacted by a lovely lady named Jackie over at HSN about an upcoming blog post HSN was doing on festive nail art. She asked if I would be interested in checking it out and sharing it. I absolutely love that nail art is becoming more main stream and getting more attention. I remember when I was growing up my grandmother used to watch HSN all the time. I simply had to check out the post they were putting out and their revamped nail page. I am sharing it below but you can check out the post on the HSN blog here or you can check out the revamped Nail page here. I just realized I can also get swagbucks if I shop on HSN so this is going to be dangerous for me.

The post is entitled Festive Nail Art Ideas for St. Patrick's Day and is written by Carly Woods. She shows several different nail art techniques to make your mani more festive.


Festive Nail Art Ideas For St. Patrick’s Day
by CarlyWoods a week ago - last edited a week ago (613 Views)

With St. Patrick's Day just around the corner, many people are looking to celebrate the spirit of the Irish with some creative uses for their beauty products! How better to get into the festive spirit than with a little themed nail art? From simple to a little more technical, see below for my top looks and tips to create some fun nails to celebrate!


Preparation & Tools

With any form of nail art, preparation is key. You don't want to be fiddling around opening nail polishes with your nails still wet. So my top tip is to have a plate with all your polishes and equipment laid out. If you are new to the game, sometimes finding the appropriate nail kit is your best bet to ensure you have all of the basic supplies. The nail tools I used are as listed: polishes, nail polish remover, cotton buds, bobby pin, nail stick, nail art pen and tape. Be sure to also prepare your nails – ensure nails are clean, cuticles are pushed back and you layer on your base of choice. Here I opted for green for the simple manicure and white for the more technical designs.


1. Simple Accent Nail & Glitter

For a simple manicure that still has a twist, add a leprechaun glitter green to one or more of your nails. You could also go the full throttle and add glitter to all nails for a super sparkly look.


2. Dotty Nails

This is where the bobby pin comes in. Pour a little of your chosen colors onto your plate, dip the pin into the polish, then gently dot onto your nail. Here, you can play around with different colors and patterns. I opted for two different greens, but it would also look great with a little gold too.


3. Shamrock Design

For those of you with a steady hand, why not try adding a teeny shamrock to one or more of your nails? You could pick up a nail art pen which makes it pretty easy, or use the bobby pin again. For the shamrock, think of it as three hearts and a line – then it's not too daunting! Don't just stop at one! I added two smaller shamrocks and a few decorative dots for a busier look.


4. Gold & Green

For St. Paddy's day you always have to add in a little leprechaun gold. For the last nail, I used a little tape to create a gold design. Cut off a small piece of tape and place over the top corner of the nail. Then, paint over with your chosen gold or glittered polish. I decided to go with the Love Angel Music Baby gold nail polish from OPI. Wait for the gold polish to dry completely before pulling off the tape! Here, I also added a few green dots with the pen for an even more festive look. Always make sure you finish with a high gloss top coat too.


What will you be putting on your nails for St. Paddy's day? Post your own designs and share them with us!


Love,

Carly Woods 


What do you all think of nail art getting more and more attention from companies and brands?
I couldn't not post my St. Patrick's Day mani this year since it is one of my favorite holidays. I wasn't thrilled with this mani but I didn't have time to redo it and apparently nothing wants to show up on this glitter.


That's all for now :)
Monday, March 3, 2014

Small break

Hey Everyone!!!! Just wanted to stop in and give an update. I am FINALLY getting over this stupid flu/cold thing that knocked me out for the past week. We have had some issues and stuff going on which sidetracked me until the germs completely put me down. I think we have all taken our turn getting sick and are finally on the mend. My nails were breaking so I finally just gave in and filed them down to nubs. I am on my second gel mani where I have pretty much just done the mani and left them alone. Mostly due to feeling like garbage. I keep thinking of stamping over them to at least change it up a little but I haven't had the energy. I am thinking I will probably take at least this week off from blogging and hopefully will be all rested and back to feeling good by next week. If not it might be another few days. We will see how it goes. C is STILL getting over this bug and he started with it around the 15th so it is a pretty rugged one. 

I hope all is well and I will talk to ya'll soon :)

Friday, February 14, 2014

Anti Valentine

Hey Everyone!! Happy Valentine's Day to those that chose to fall into the over commercialized trap of it all. I kid, I kid. Seriously Happy Valentine's Day to those of you who celebrate it. I have mentioned that we don't really do anything. I did actually find cute and very corny printable Valentine's Day cards that the NY Giants have on their website and printed those out for C. They are lame and silly and I will probably get the whole "Valentine's Day doesn't exist to us remember" line but how could I not print out a card with something as corny as "Will you be my co-captain?" on it. I will stop and get T some candy and we will call it a regular Friday night. For those of you who don't celebrate Valentine's Day this mani is more geared toward you :)

I figured I would actually do a red mani this year but then I decided I had to go anti Valentine with it just to counteract the red.


I started with a base of the CND 2011 Red Hot Duo. Just Red is the creme color in the duo. It is a really nice polish that is somewhere in between a jelly and a creme. I actually love the formula on that polish even if it is red. I then applied one coat of Red Sparkle which is the glitter portion of the duo. Red Sparkle is a very fine red glitter in a clear base. I love that glitter, it reminds me of the fine sugar they sprinkle on sugar cookies at Christmas time.


Since that was just not enough sparkle I added a coat of Girly Bits Canuck the Dots which was made for Canada Day. They are back online and you can find the shop here. Canuck the Dots is in the On the Way Out section so if you are interested in it you should jump on it soon before it is retired. I love this combination of matte red and white glitter in various shapes and sizes. It is perfect for not only Canada Day but also Valentine's Day, July 4th (adding some blue of course) and Christmas. Yeah, I really didn't need all those reasons to buy it but they worked well as my excuses :)


For the stamping I went with skulls and broken and splattered hearts. Festive isn't it?


The skulls came from Mash plate Mash 26. I used whatever black polish I had sitting on the table for stamping. I think it was Wet N Wild.


I used Gals plate GA12 from the 2013 Princess set for the broken heart and Fab Ur Nails plate FUN12 for the splattered heart design.


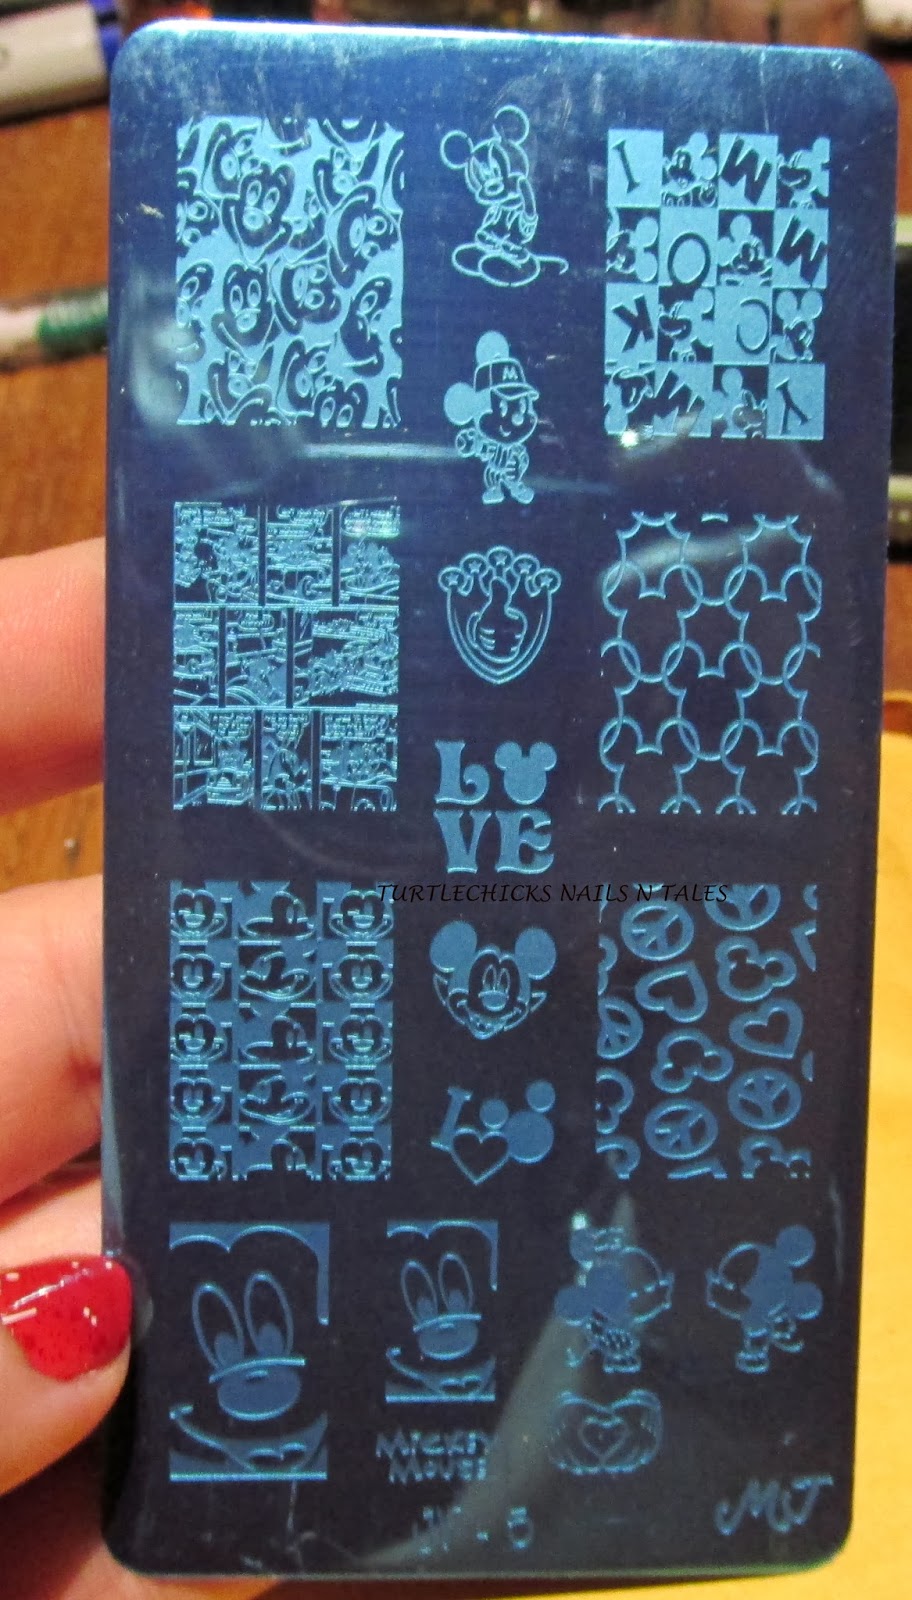
I don't have a picture of Bruce today but I do have a new plate that I just got in the mail. I love Nail Mail! It is MJ jr 5 from the new jr plate collection. So cute! 


That's all for now :)

Thursday, February 13, 2014

My Snoopy Valentine

plate RuiZ02  girly bits auld langs wyne muted burgundy wine linear holo  BM-H17
Hey Everyone!!  I am getting a headache so I am going to make this brief. I do have a ton of pictures for you though :) I think this might be my favorite of the Valentine's Day manis that I have done this year. I love Snoopy though so it has a slight edge.


I started with a base of Girly Bits Auld Langs Wyne. I would link you to the shop but she it is currently in maintenance mode. You can buy Girly Bits from Llarowe though. 


I used three coats of Auld Langs Wyne. It is a gorgeous muted burgundy wine color and it is holo! Omg the holo. Oh so holo. As you can see it is holo even in low light.


I made stamping decals with RuiZ02 for the Snoopy design. I had some issues with my top coat smearing which made me sad. I would have redone those nails but it was so late already and I was tired. 


Some sun really brings out the holo. I used BM-H17 to make decals for the hearts. I would have stamped them straight on my nails but I didn't think I could line them up right. 


I didn't top coat the mani until both of the stamping decals were placed on my nail so they would be on the same layer.


The light over my oven also makes the holo come out and play really nicely.


I love hearts and I love Snoopy and I really love holo so this mani made me quite happy!


My poor index finger nail broke and I had to nubbinize it. I am hoping it grows back soon. I think that in my mission to make a stamping book trying to get the plates out of the holder actually cut the nail.


Auld Langs Wyne is from the 2013 Holiday Collection. I picked this beauty up on a blog sale and oh my gosh it has made me want ALL of the holos. 


It was probably better when I was attempting to ignore all the awesome new polishes coming out because I seriously can't stop looking for holos now. 


That's all for now :)

Tuesday, February 11, 2014

Blue Valentine

Hey Everyone! I am having a very cranky day today. I am also getting a headache. Sadly I have no pictures of Bruce or any of the furbabies today. I wish I did because they are so cute. I do have another Valentine's Day mani for you today.

I decided to go a different route with the hearts and give them a nice blue background for this mani.
wnw teal slowly and see listening to blue reed PUEEN35


It is hard to tell but the blue is actually a gradient using Wet N Wild Teal Slowly and See and Listening to Blue Reed. I used a makeup sponge for this gradient and actually started with Teal Slowly and See as the base. I then sponged both colors on top. It didn't quite work out the way I intended but in person you can actually see the gradient a little more.


I then used black polish and PUEEN35 from the Pueen Love Elements collection to do the stamping.


I made stamping decals as my first attempt but I stamped with a blue Kleancolor polish and then filled in the hearts. They were really disastrous and I hated the way they came out so I decided to just save time and stamp in black. I think I needed to use a darker stamping color to make the decals work but I wasn't about to make them all again at that point.


I used CoverGirl Anti Freeze on top to give the mani some pretty sparkle. 


Anti Freeze did smear the stamping a little but only in some spots. It has a really odd consistency that is thick but runny at the same time. It is really pretty though.


This was a nice bright cheery mani and I almost left it on longer but decided I needed to do another Valentine's Day mani for tomorrow's post. 


I am not sure but I think we had to run out this evening and do some things so I am hoping I get home in time to both edit tomorrow's pictures and do another mani. I have a feeling I am going to have to miss one post this week though. 


That's all for now :)

Monday, February 10, 2014

Chromatic Creation Hearts

Hey Everyone!! Well what do ya know two posts in one day! We don't actually do Valentine's Day but since I love hearts I always do Valentine's Day manis. I know, it is weird. I figured I would do some Valentine's Day manis for this week even though I am sure some of them won't actually be your typical red and pink themed manis. 

Before we get into the mani however I have a couple pictures of my little love Mr. Bruce. He cracked me up when I saw him in the window but it was really hard to get a good picture.


The funniest thing about this is that he is on top of something so he is at the top of the window. I couldn't post the picture showing the full window because the glare made it hard to see him. Just imagine him at the very top of a big window with just his head poking out of the blinds.


He was watching some birds. So funny and cute.

For my first Valentine's Day mani I used Finger Paints Chromatic Creation as the base.


I stamped with Cult Nails Quench which looked bright pink or magenta stamped over Chromatic Creation. I It was a happy accident since I was expecting something more red. The hearts I stamped with Wet n Wild black polish.


I stamped the hearts with Pueen plate PUEEN43 from the 2013 24E-Love Elements Collection.  I used Quench and Winstonia plate W113 from their first generation set for the hearts.


I wanted to add something more so I used heart shaped rhinestones from a wheel I bought on ebay. I alternated pink and red hearts. I don't like to topcoat rhinestones but I did it for this mani since the last couple of times I tried to go without top coating them I lost a few.


I put two coats of top coat on this mani and didn't see much sun after that so I didn't see the holo from Chromatic Creation much after stamping over it. I know it was there a little bit because I did get a peek at it once but it wasn't very visible. I was wondering how top coat would affect the holo but totally forgot to try it when the sun was out.


That's all for now :)